3 Tips for Helping You Decide which of Your Photos to Print
As I’ve been thinking about getting my work out there in galleries or others homes and workplaces, I’ve also asked myself which pieces of my work would I put on my own wall. This has actually been a little more challenging than I expected as I have a lot of images I like and have been having a difficult time deciding what I should print.
My biggest hesitation besides making a final decision of which photos to go with is the price of printing. Printing, although worth it, can be expensive and I want to be sure I’m happy with what I end up putting on my wall. As I tried to figure out ways to approach this problem I came away with a few techniques to help me narrow down my decision. I figured sharing these tips may help others facing a similar dilemma.
Preparation
To start things off take some time to narrow down your favorite images that you may want to print out. For me, part of this work was already done since I’ve been filtering down images for this website already. However if you don’t post to a site regularly, you can look at what you had posted to social media or starred/favorited in your photo editing application.
Once you have this list together you’ll want to export your favorite images to a single folder on you computer. This way you can start to see how they stack up next to one another.
You’re now ready to start the process of narrowing these down to your top print options.
Tip 1 - Create a Mock
One of the best ways to help make a decision is to visualize what the final outcome may look like. For this first task, we want to create a visual of what our work looks like on the actual wall we plan to hang it on.
Luckily for us we already have a digital version of the image but to create a mock of the image on our wall it takes just a little extra effort.
If you followed the preparation step you already have a folder with the images you’re considering. The next step is to now place those images on the wall. To accomplish this, I simply went to the room I’m considering for my new print and then stepped back and took a photo of the wall with my phone. For this image I wanted to include the surrounding details of the room along with the wall space I planned for my print. This way when you create the mock you can see how it fits in with the rest of the room details as you’ll want something that likely fits the aesthetic you’ve setup.
In my case I was looking at placing an image above a minimalistic looking bookshelf as you can see here.
I then transferred this image to my computer from my phone. Now that I had this image on my computer, it was time to get to work on the actual mock. I decided to work on the image in Photoshop, however you can use an application of your choice as you just need something that allows you to layer one image above another with some image resizing options. For example, you can use something as simple as Google Slides for this part. I’m comfortable with Photoshop so I decided to use it and because it allows me to show and hide these image layers really easily. I can also add some quick effects to make the mock a bit more convincing such as shadows to my image, but thats really an extra step you don’t need for this exercise.
Once the image was opened, I then simply proceeded to drag and drop my favorite images into the scene. As I could work with layers I re-sized each of the images to test different combinations and sizes as you can see below.
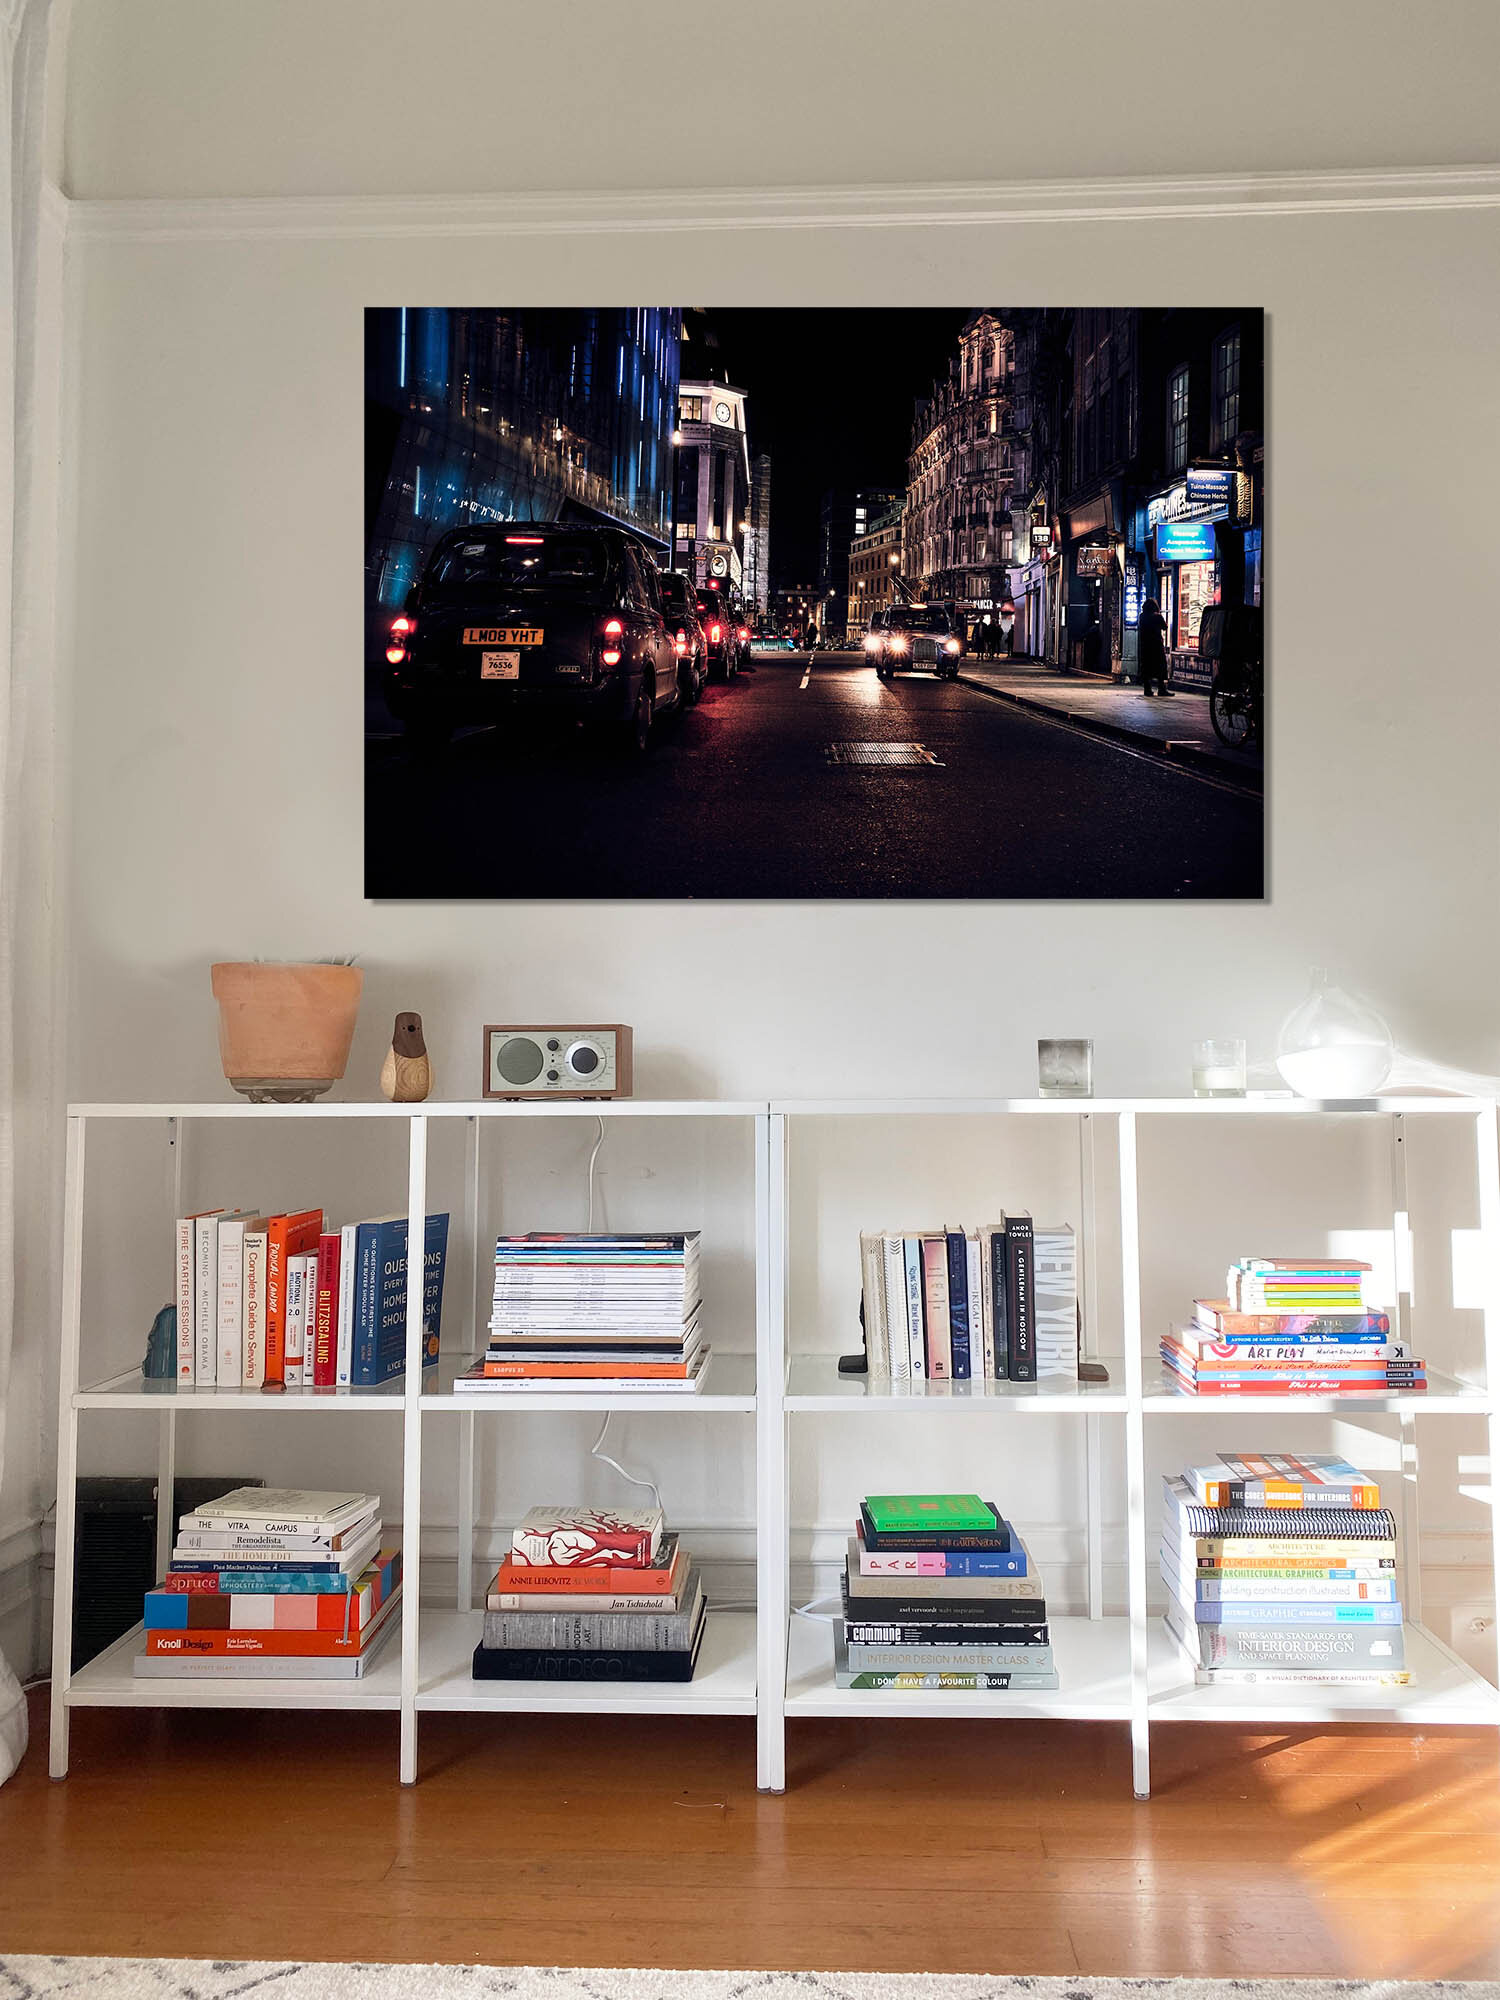
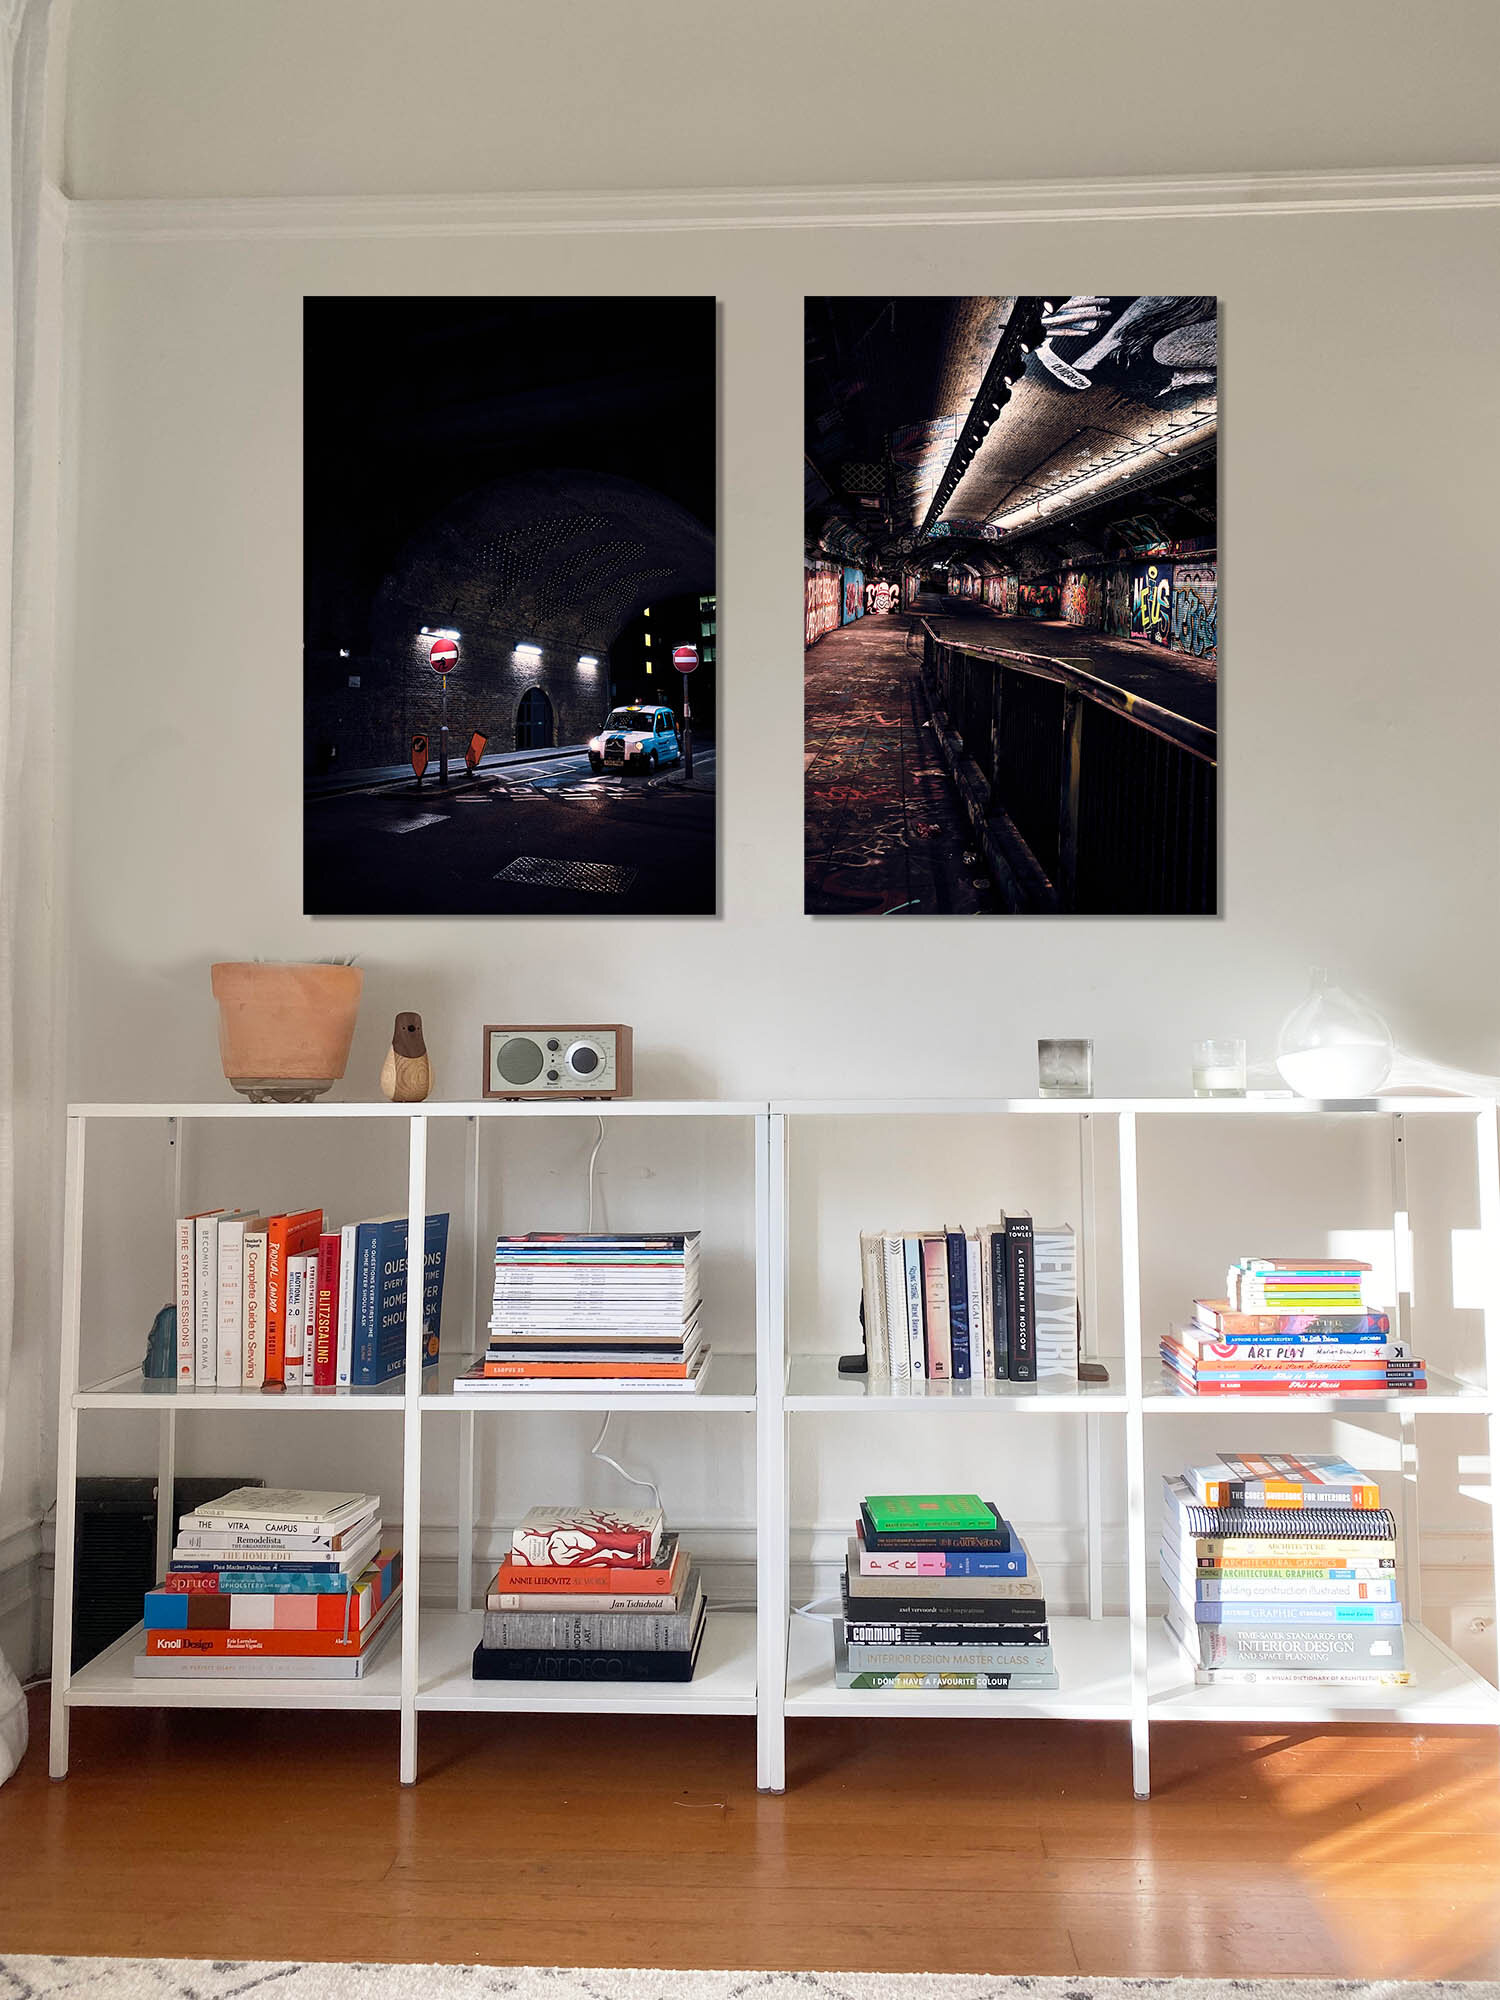
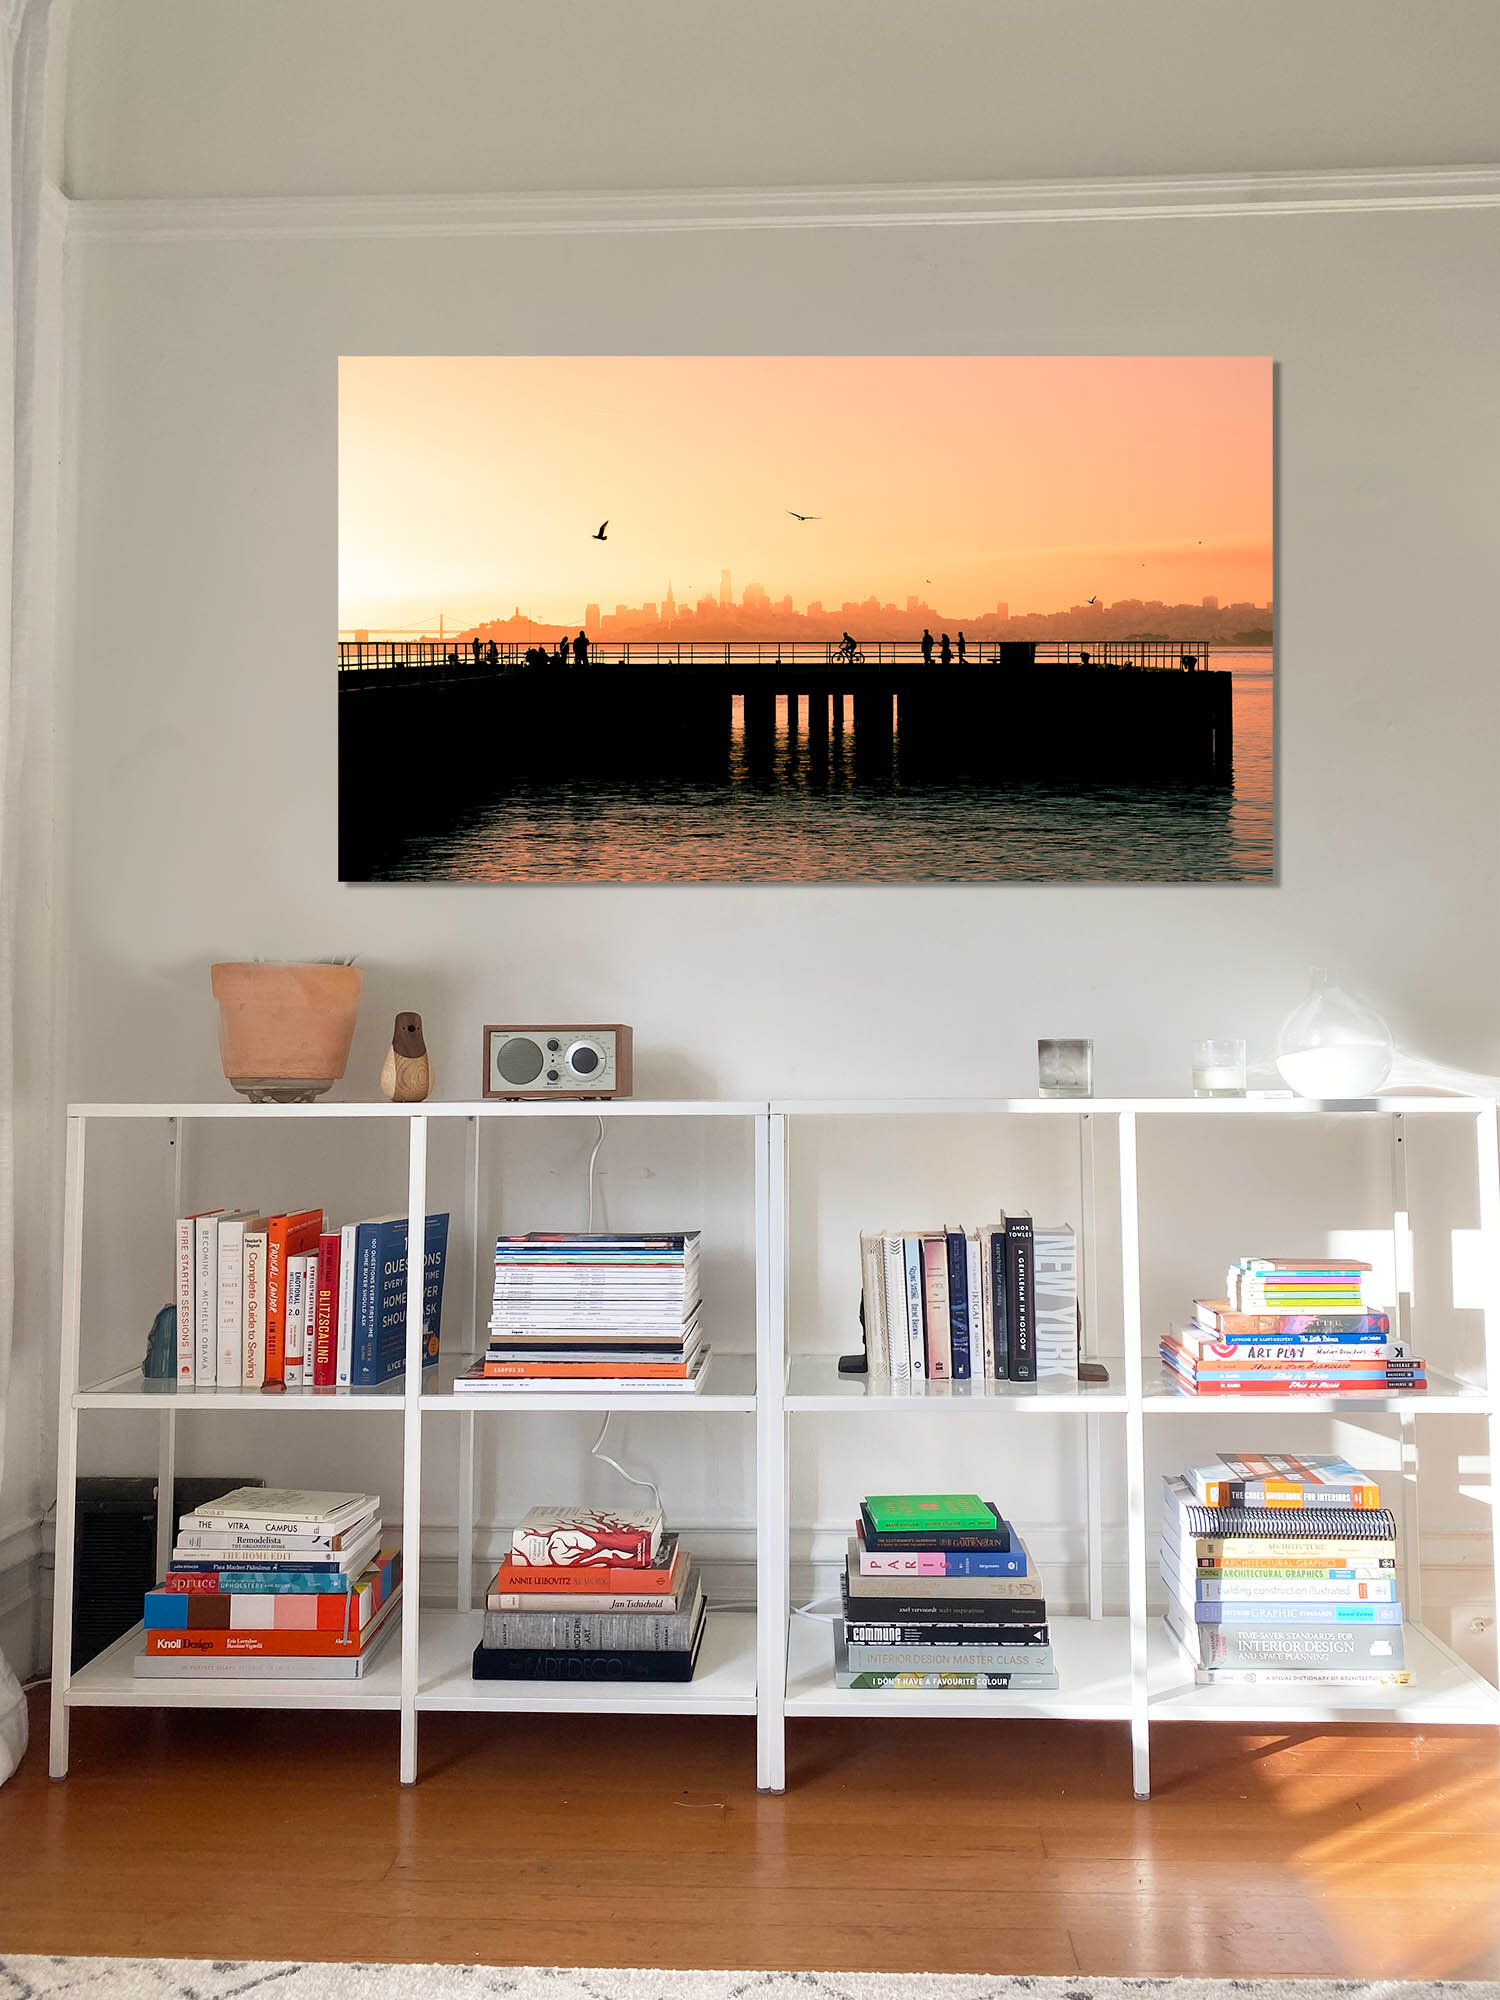
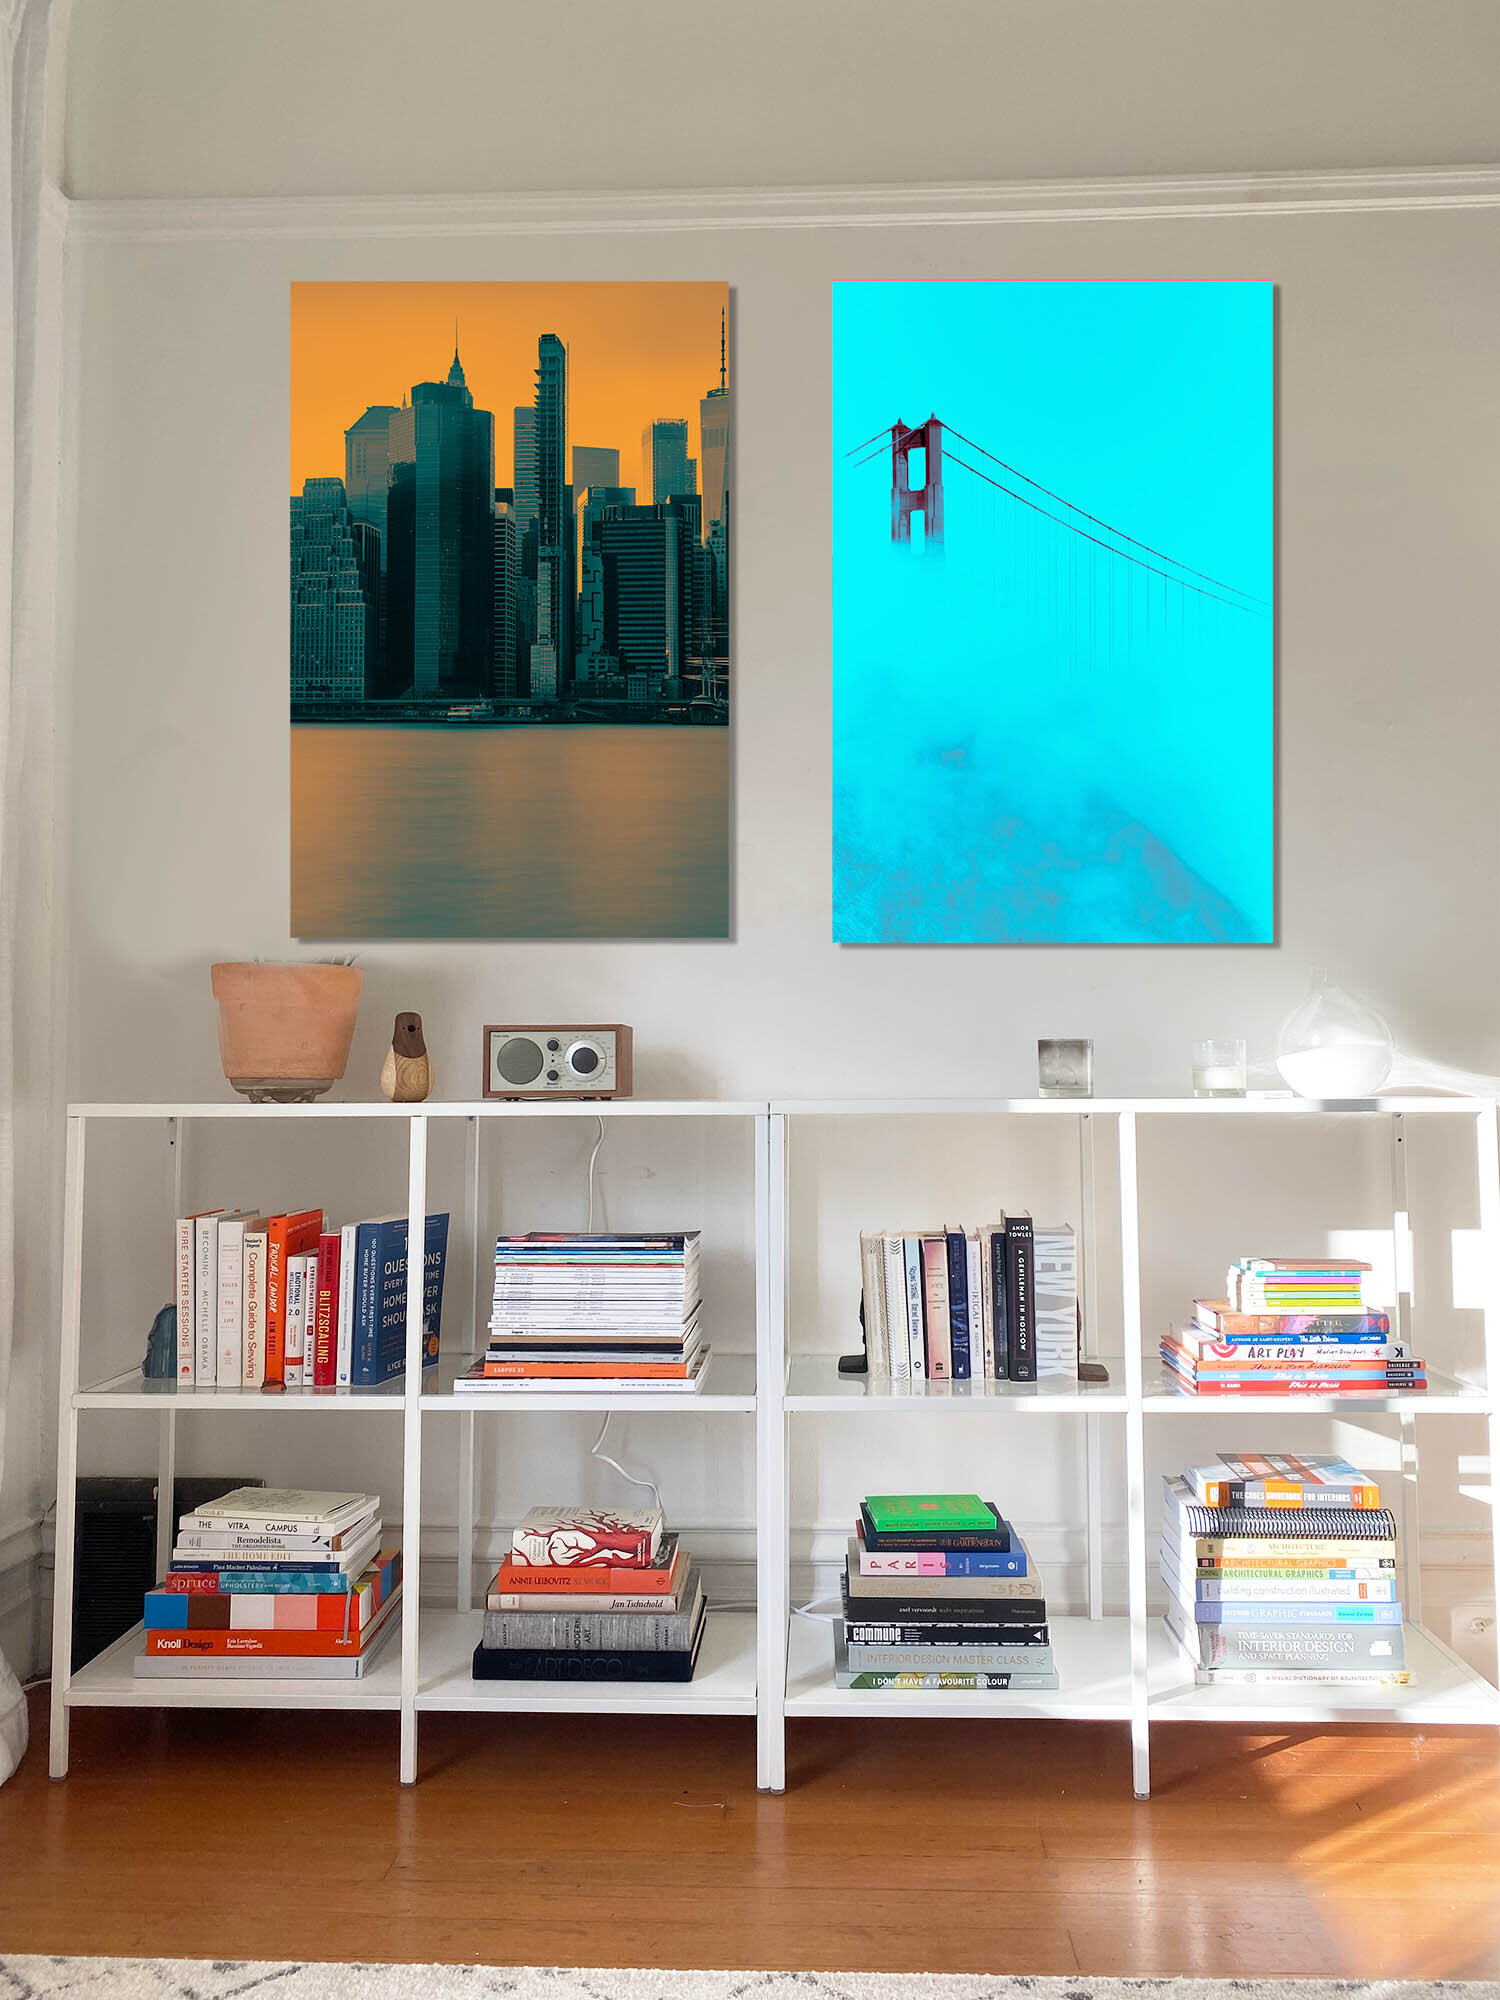
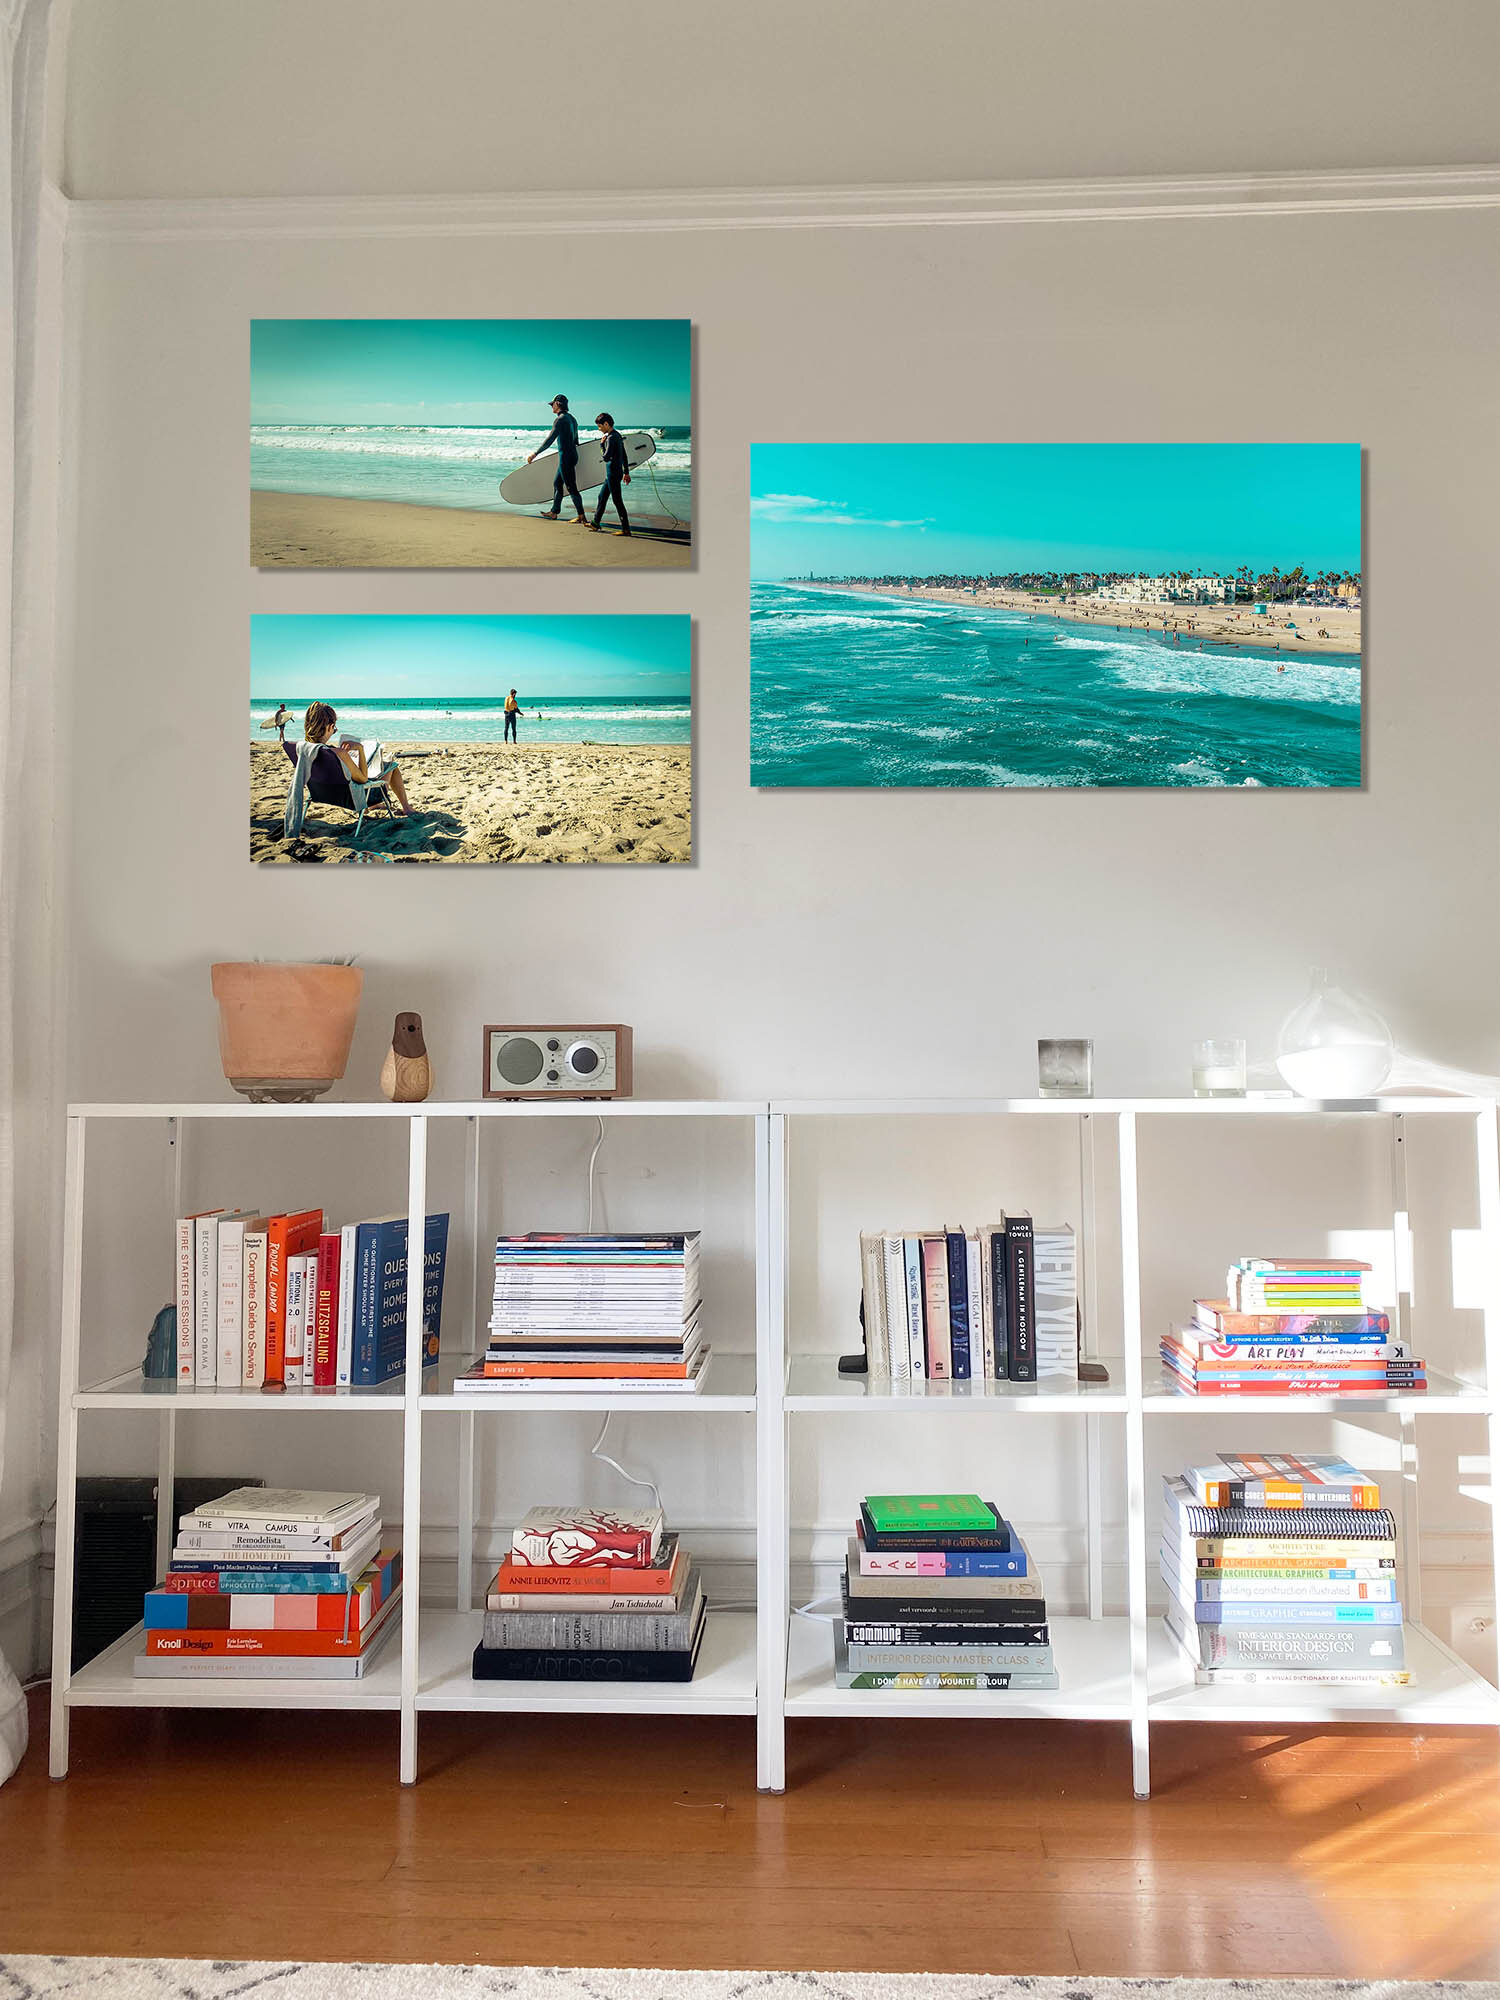
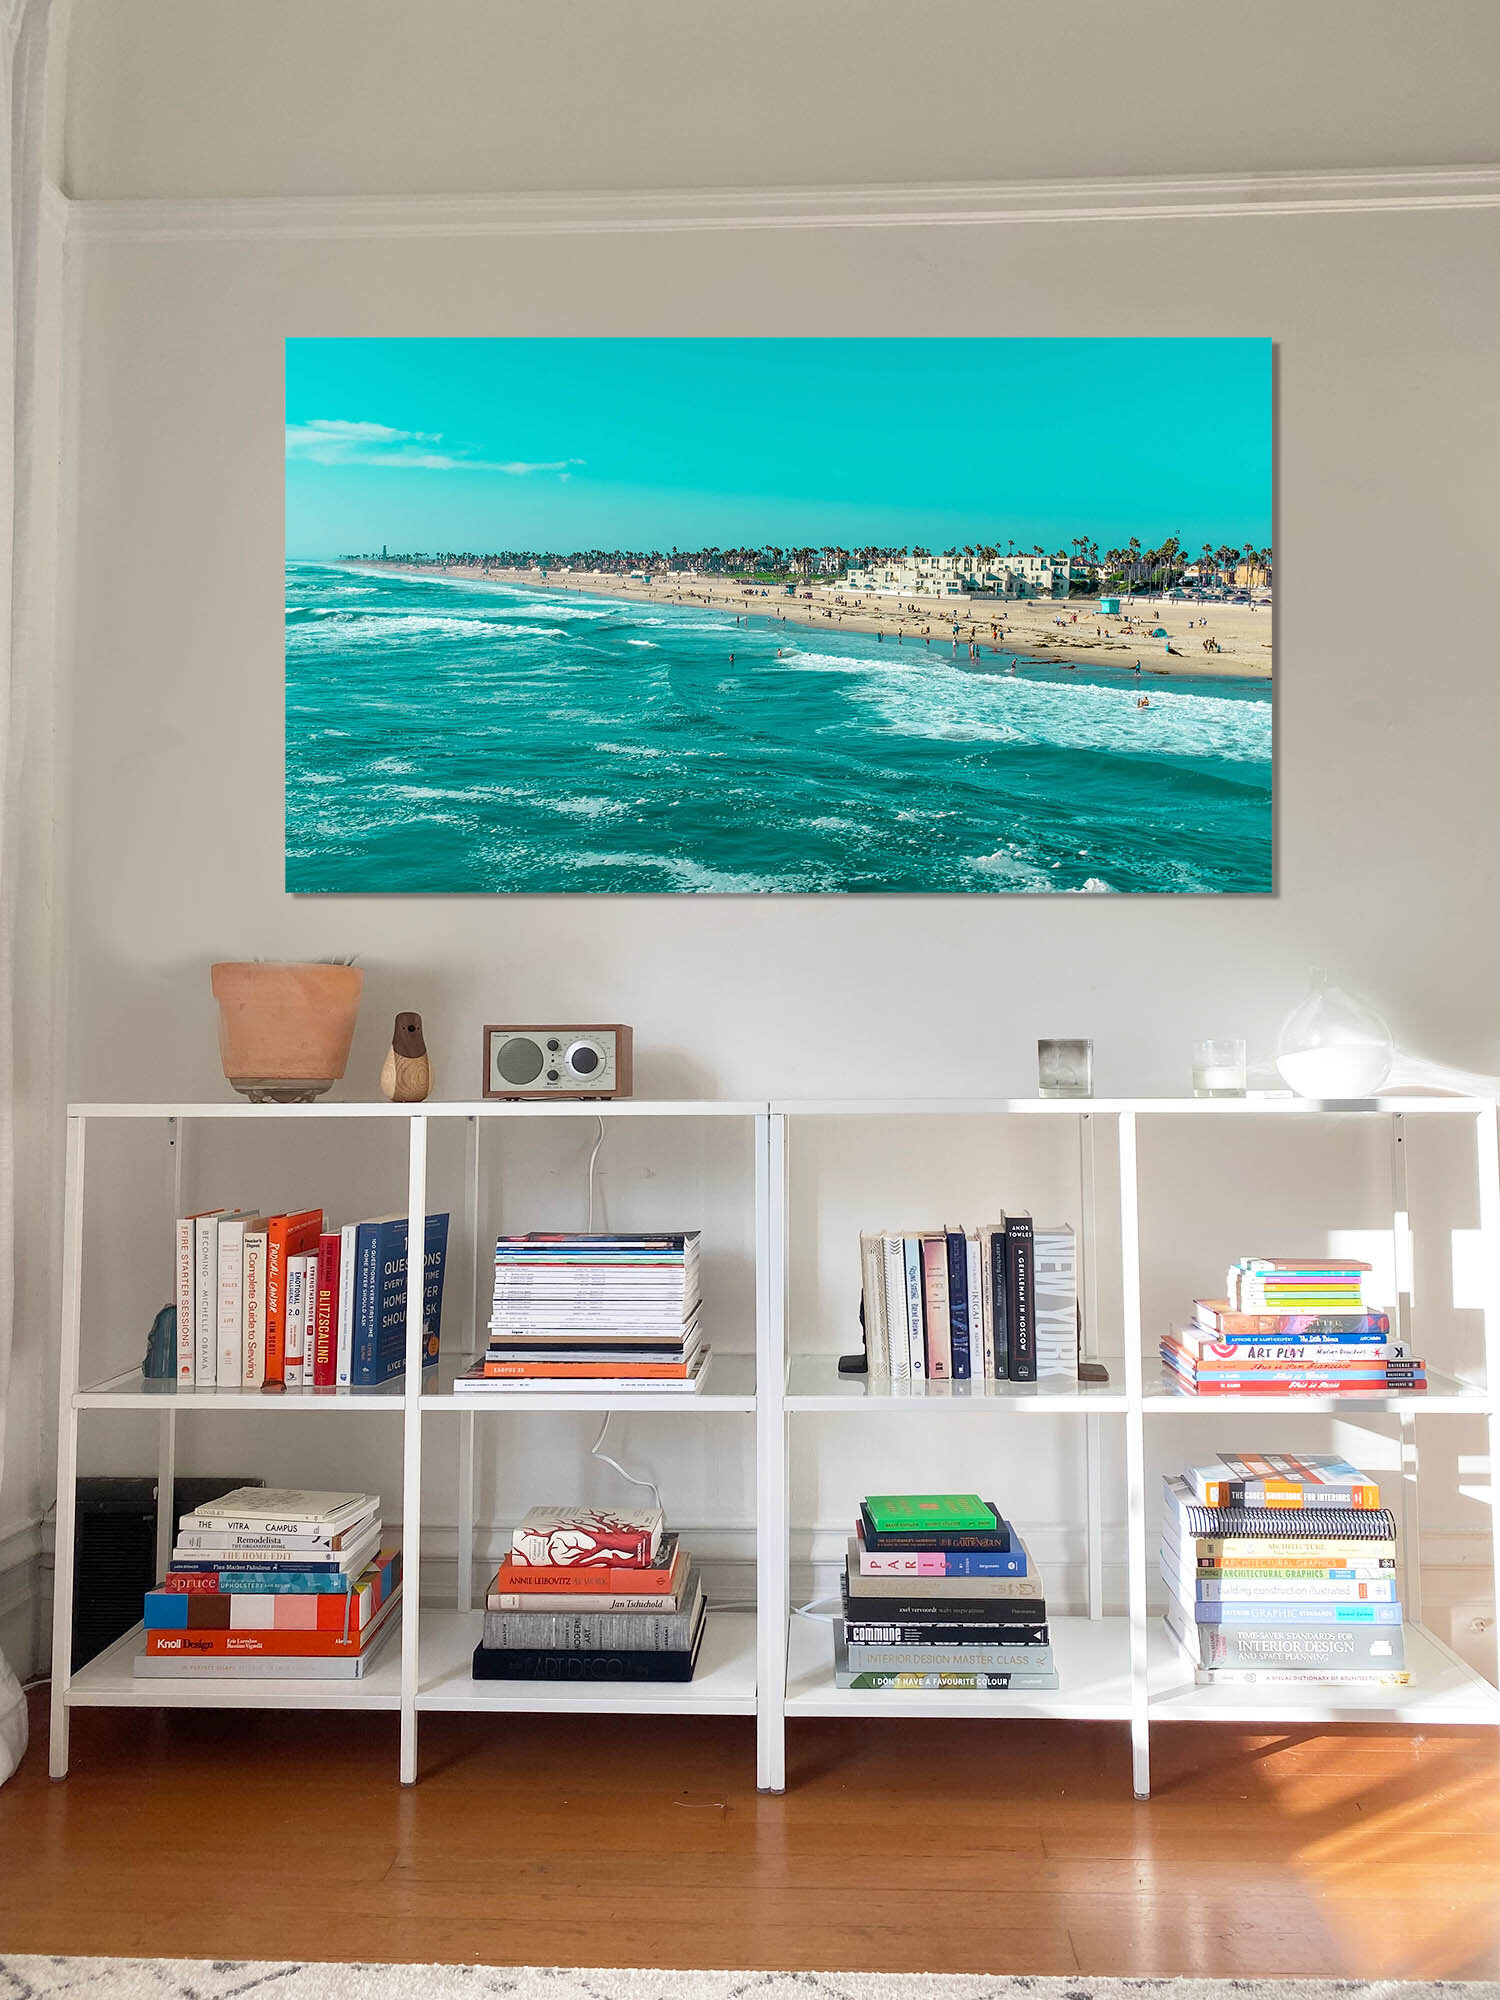
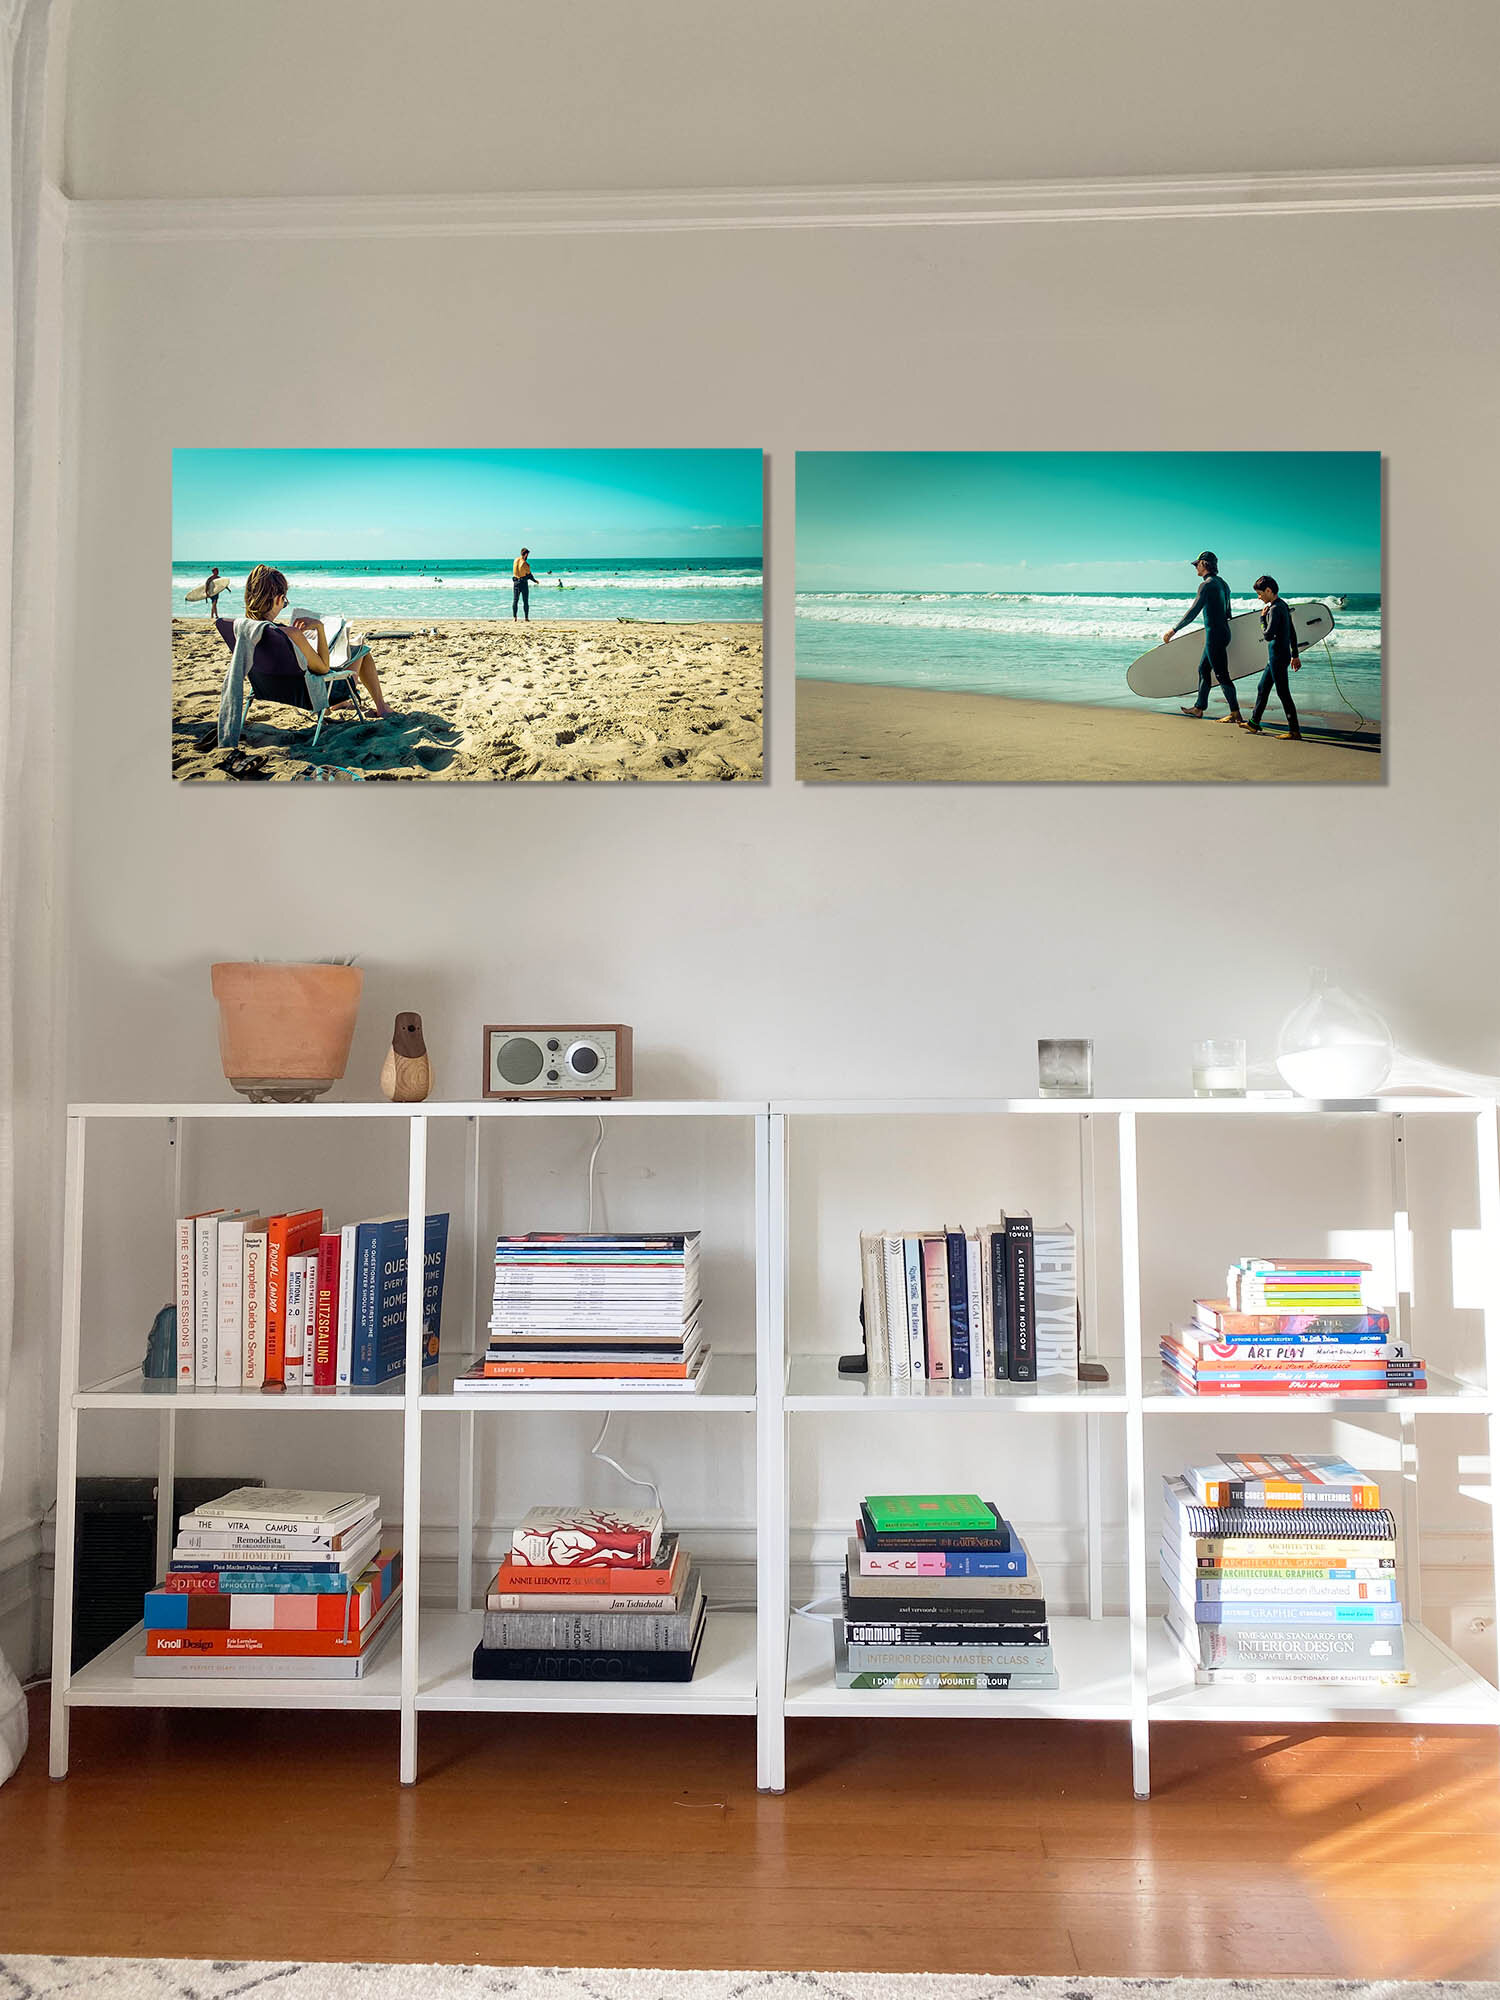
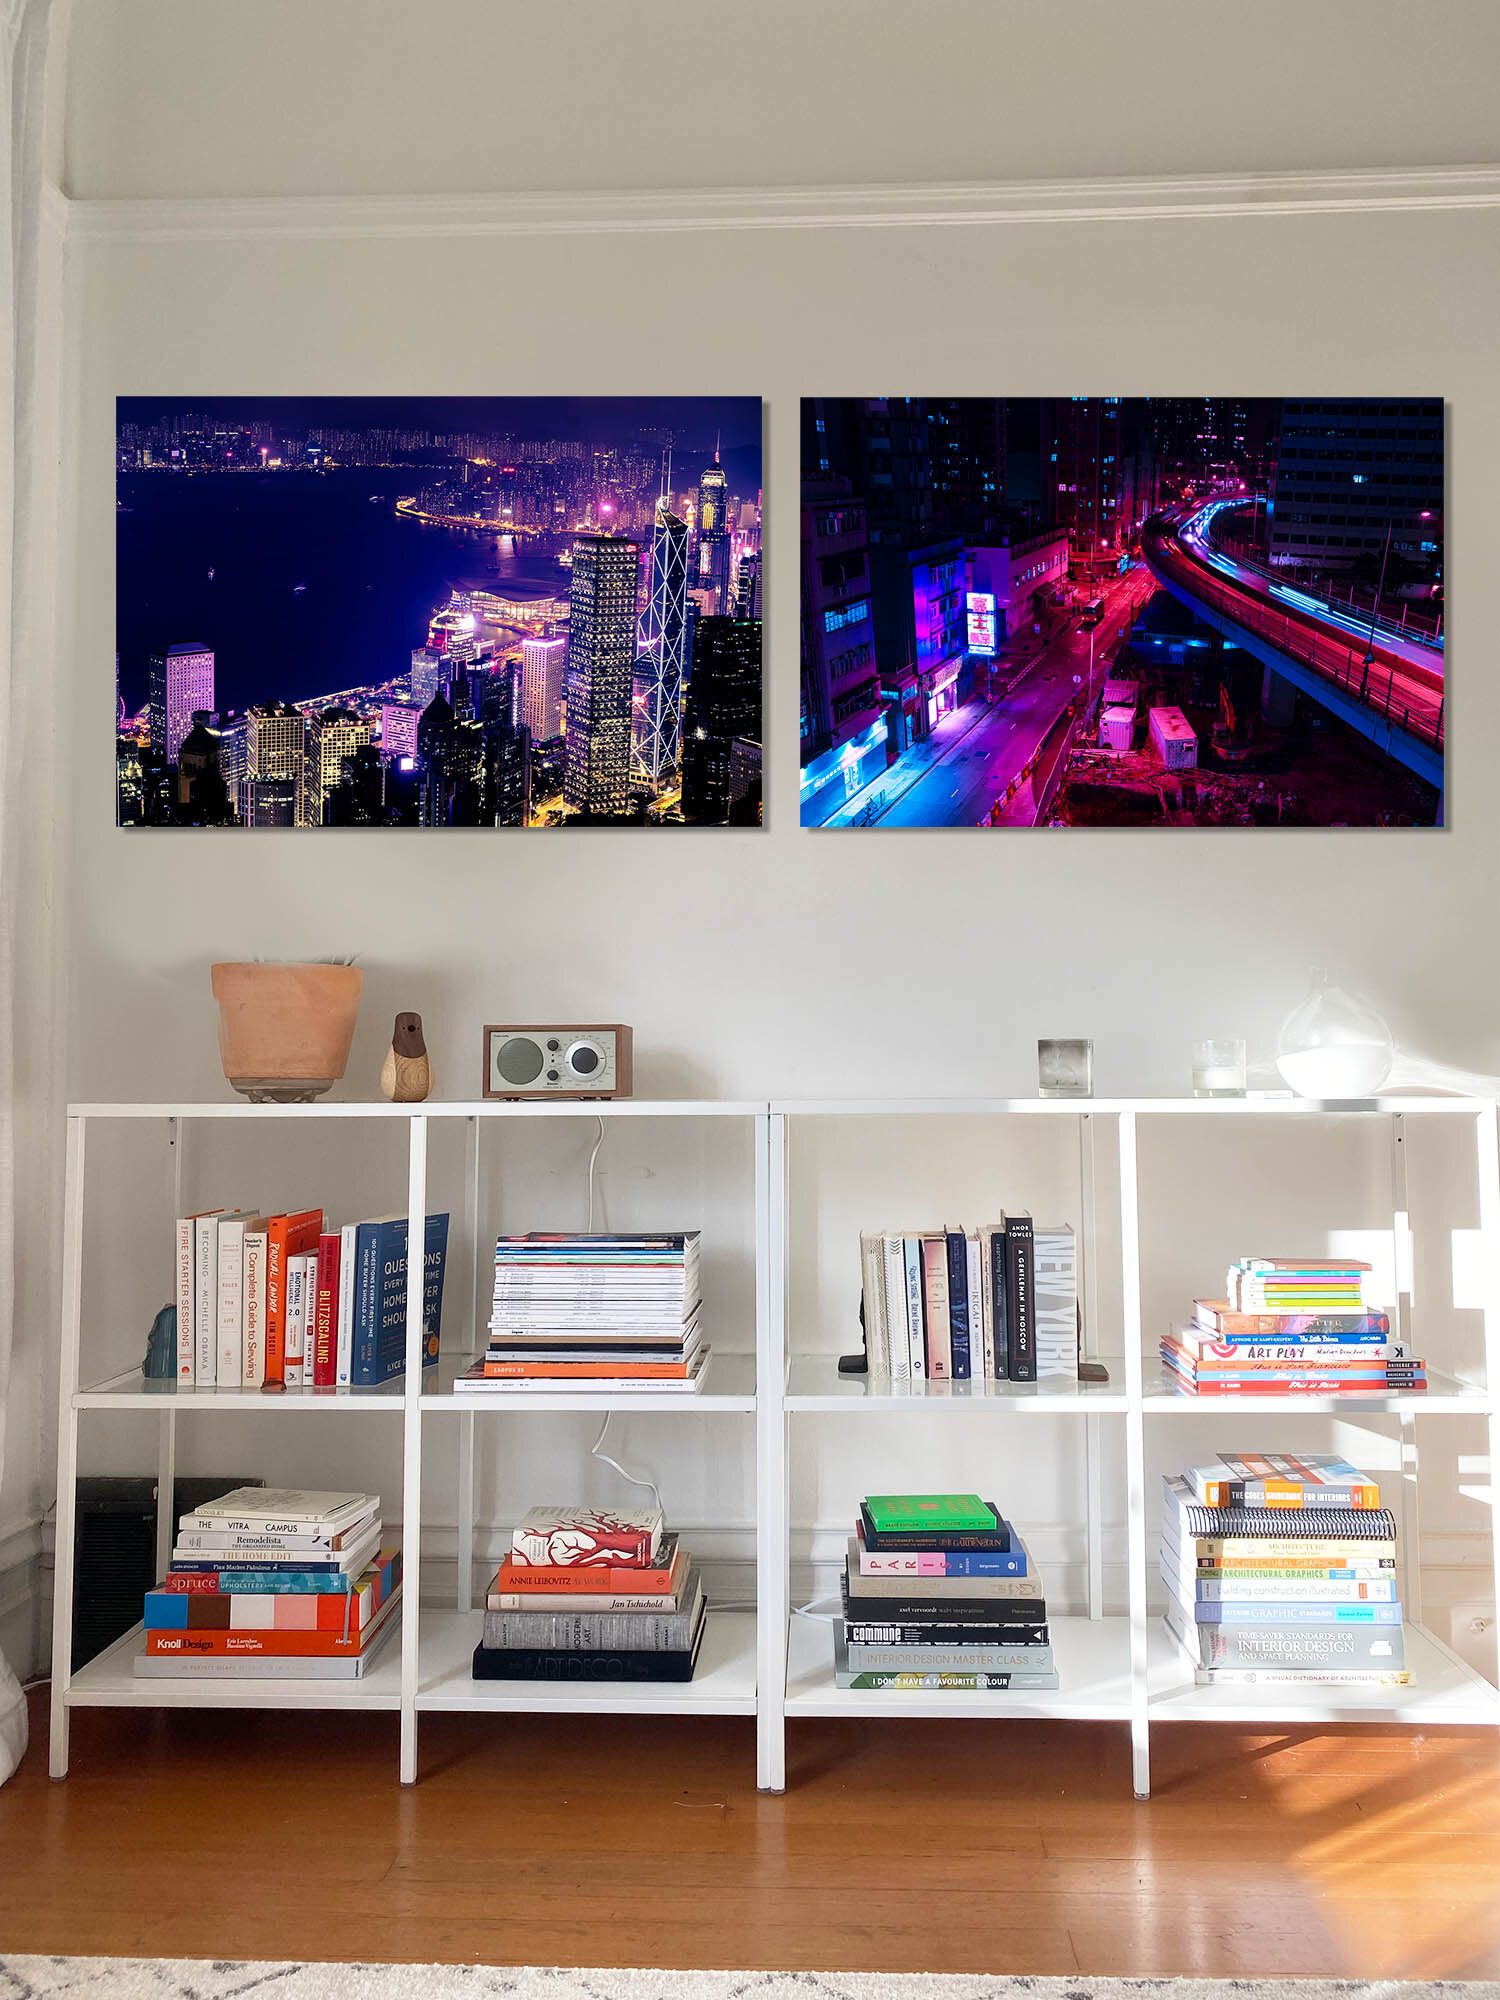
Finally I exported the different combinations so that I could quickly click through the different options. By creating these mocks it allowed me to get a real visual of what worked and to feel out the sizing and different combinations. For example, I noticed that some of my street photos may contrast too much with my book shelf and possibly I should stick with one of the beach images as that may fit the overall aesthetic better. I would not have noticed this as quickly if I was just looking at these images by themselves.
Tip 2 - Get Feedback on Your Room Mock
Once I created the mock I was still torn between a few different options. Since I put in some work to create these mocks I wanted to get some other peoples feedback.
An easy next step if you’re on social media is to post a story with the mock images. On platforms such as Instagram, you can even add a rating option so people can vote. I decided to do this and actually got some good feedback.
The funny thing when I posted these mocks is that some people thought I had actually printed out the work already and were complimenting how they looked. This feedback itself can provide great direction if you were torn between a few different option. If at this point you’re still not sure the next tip should help you make that final decision so that you can get this work printed.
Tip 3 - Make Low Cost Prints of the Images
If at this point you’re still having difficulty deciding which images to go forward with the next step is to simply print out some low cost prints of the photos. This can be done at your local Walgreens or other places with instant or quick print options. This will allow you to get a feel for the actual printed image and you may find that you like something on the screen but less so when printed.
In my case there was a local photo store a few blocks away that had some Fujifilm print stations. I was able to walk in and print each of my photos within 5 minutes for 23 cents each.
Even though I only printed 4x6 images it was actually really fun to see and hold my images. This got me even more excited about displaying my work on my wall and it gave me an idea of how the final product may look like.
If you’re still uncertain at this point, you can also take this a step further by printing out larger images at these print stations or if you need an even larger size you can go to Costco. I would also get a low cost frame from Target or another retailer to complete the whole look.
This is something I actually picked up by watching a video from photographer Evan Ranft. I thinks it’s a great idea as you can put the image up on the wall exactly in the size and place you wanted and get a real feel for that work. After having it up for a while you can then decide if it’s worth keeping. The images you decide to keep can then be sent to a proper print shop so that it’s printed with gallery quality ink, better paper, and professionally framed. This will ensure your work lasts over time and printed to your specifications as many of these shops will work with you to optimize your images for the print.
In Conclusion
I hope these 3 tips were helpful on your journey to print more of your own work. Please leave a comment if you have any other suggestions or feedback. Also if there is a piece of my work you would like mocked on your wall I’d be happy to do it if you sent over an image of your wall as detailed in this post. Simply reach out using my contact form here.


